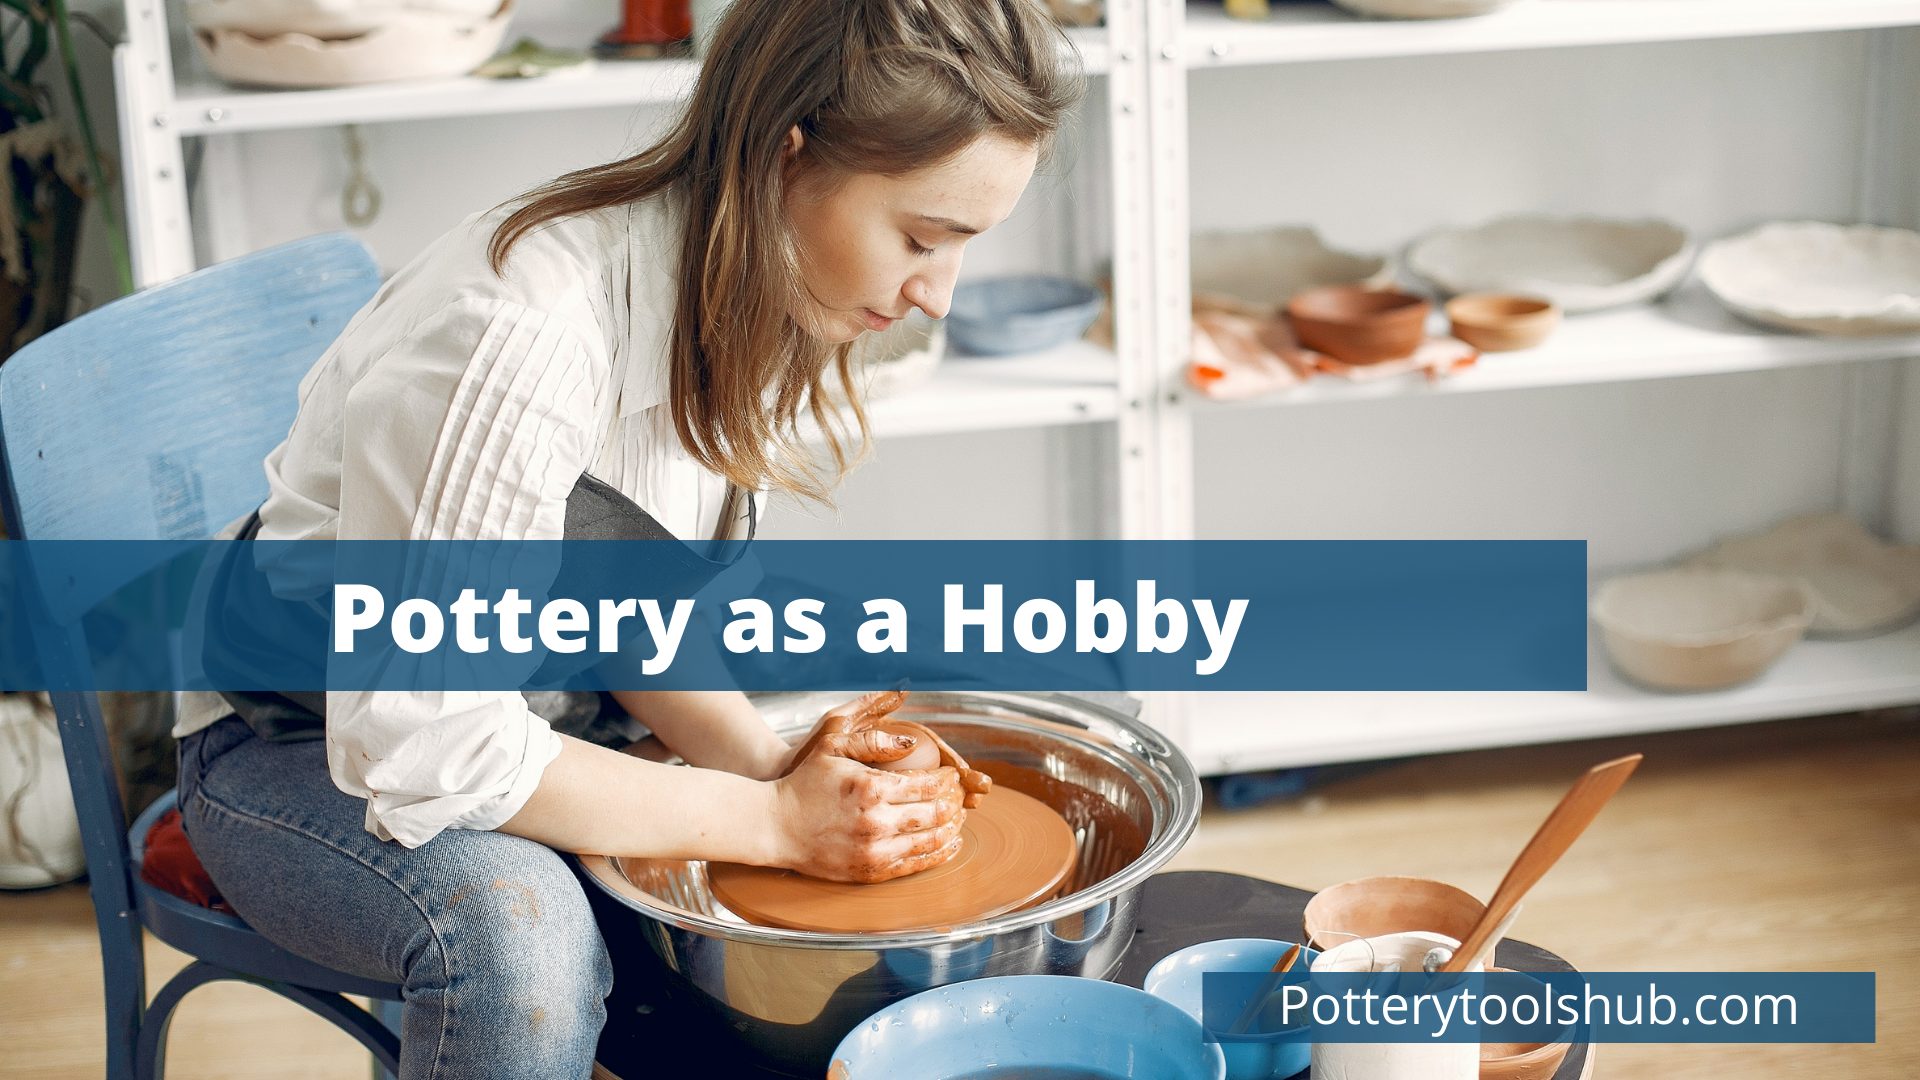
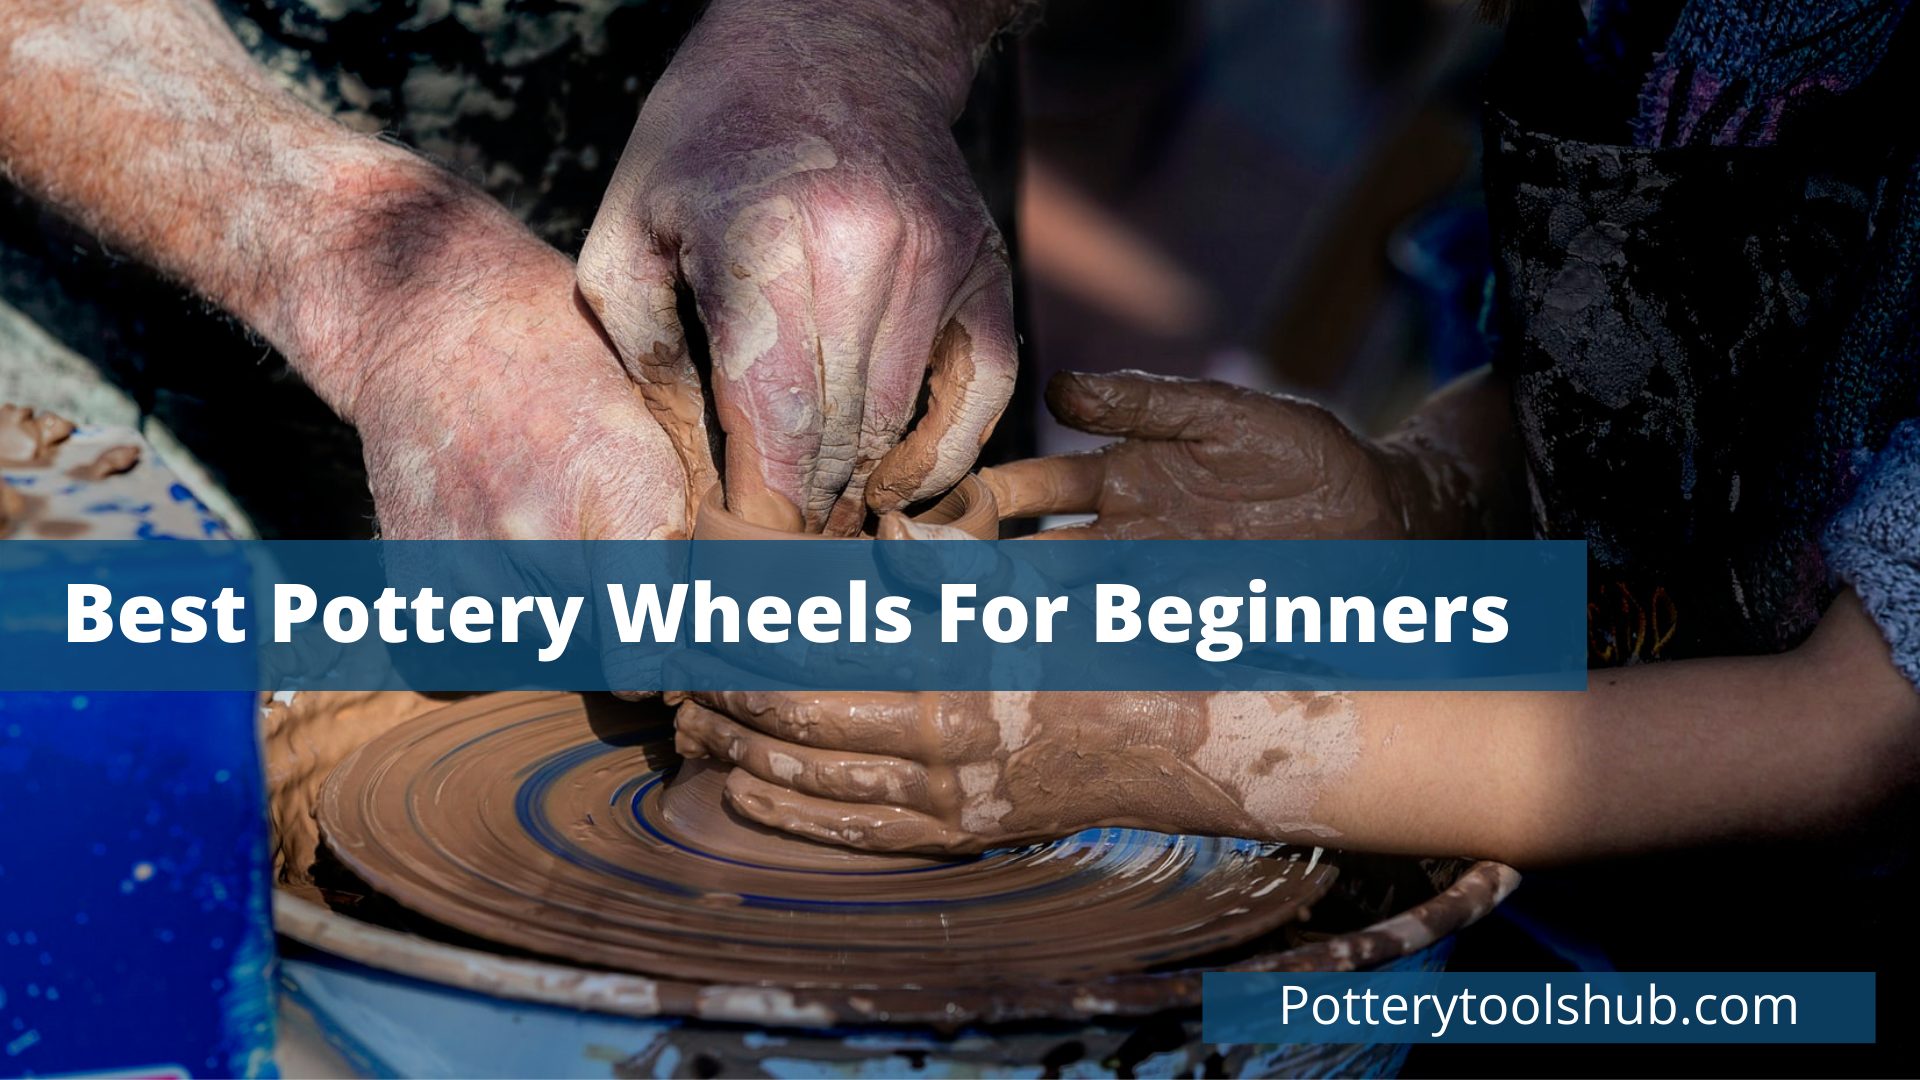
If you’re creating pottery pieces at home, whether as a hobby or for business, it can be quite a fulfilling experience. From vases to jewelry, you can create a wide range of pieces. And the essential skill you want to perfect when creating with clay is using your pottery wheel.
Using a pottery wheel is called throwing. Expert have designed pottery wheels specifically to make uniformly circular pieces like plates, cups, and bowls.
If you’re interested in learning how to use a pottery wheel to help you create the perfect piece of pottery, this is the article you want to read.
And of course, you’ll need the best pottery wheels to do it! Here’s an article that can help you out: Best Pottery Wheels 2023.
Table Of Contents
Steps to Using a Pottery Wheel
Step 1
The first step before you start the wheel is to prepare the clay. This helps to get the air bubbles out, the presence of which can cause the pottery piece to crack during firing.
There are two ways to prepare the clay:
- Wedging
- Spiral kneading
Wedging is a process that involves repeatedly banging a lump of clay onto a table to remove as much air as possible.
Spiral kneading, on the other hand, is similar to kneading dough. In this case, the clay is the dough, so you use your palm to twist the clay in a spiral shape. This compresses the clay and causes the air bubbles to pop.
Step 2
The second step is to choose a bat. Bats are plates made of metal that attach to the wheel, providing a smooth surface for the clay.
You can find bats in numerous sizes, as you need different bats to make different items, such as plates or stands.
However, before you start shaping your pottery piece, you need to center the clay on the wheel. To do this, drop the clay down on the bat’s center forcefully, then start the wheel.
You’ll have to add water to the clay while pushing it down and pulling it up to keep the clay moldable.
Repeat the process to ensure there is no wobble.
Step 3
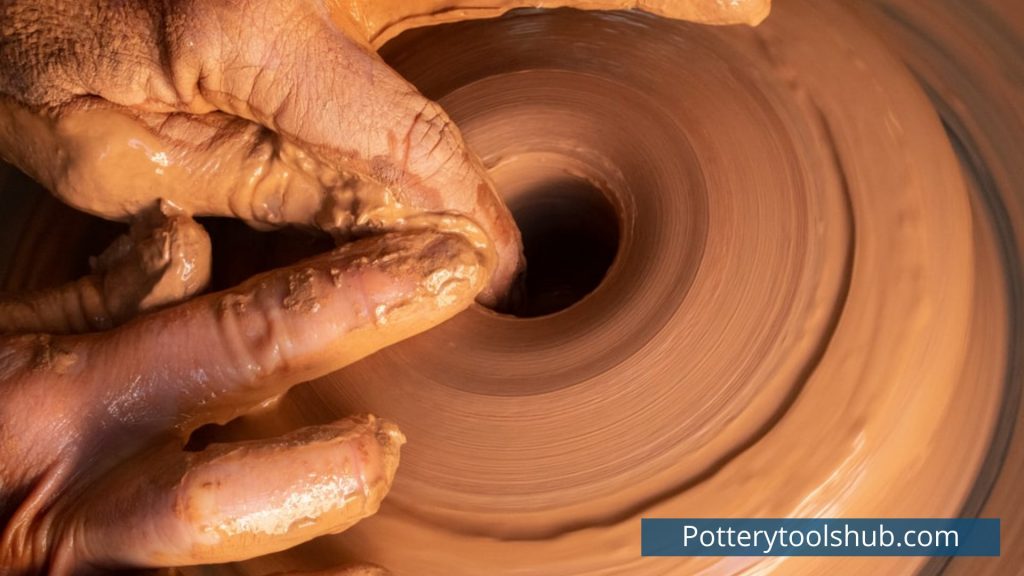
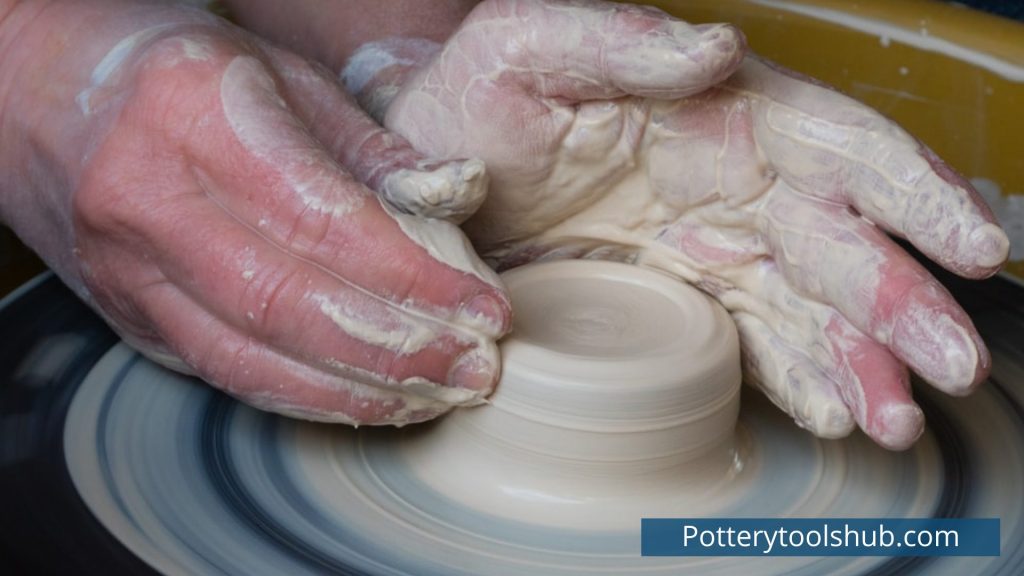
After you center the clay, the next step is to open it. You can achieve this by holding one hand on the outside of the clay to stabilize it and using the thumb of your other hand to press into the middle, pushing down into the clay.
This forms a hole, which becomes the center of the pot.
Step 4
After opening up the clay to a satisfactory width, the next step involves shaping it.
This is done by slowing down the wheel to achieve maximum precision. And, of course, always make sure you use both hands!
It’s also vital to keep the clay lubricated, so add water as required throughout the process of shaping. The extra water that pools in the hole will need to be removed with a sponge, so remember to keep one at hand. Omission of this step could cause your piece to crack.
Step 5
Excess clay tends to form around the base of the piece. Remember to remove this using a ‘rib’. A rib is a tool used to shape the clay and comes in various shapes and sizes at any pottery tool supplier.
Step 6
As the last step on the wheel, this involves removing the pottery piece from the wheel. Using a long piece of wire, remove the item while the wheel is slowly moving.
Congratulations! Your piece is now ready for glazing and firing.
If you’ve read this far, you might understand that if you want to learn how to do pottery properly, the best choice is to invest in a high-quality pottery wheel.
And luckily enough, whether you’re buying a pottery wheel for a hobby or using it for a business venture, there is a wide range of pottery wheels available for your use.
Relevant Article: Pottery as a Hobby: What to Expect and What are the Expenses?
Common Pottery Wheel Mistakes
There are always problems that come with making pottery, of course, and here is a list so you can learn to avoid them:
1. Not Wedging the Clay Properly on the Pottery Wheel
Trying to craft a piece without wedging your clay and expecting that it’ll help you save time is unreasonable. Incorrect wedging can cause your clay to become difficult to work with or make it impossible for you to center the clay.
2. Using The Wrong Clay
Although you can use any clay on the wheel, not all are easy to shape or center. When throwing, remember that the clay needs to be smooth enough to work with easily.
Relevant Article: The Types Of Clay For Pottery – Choosing The Best One For You
3. Water Issues (Too Wet or Too Dry)
Balancing the amount of water is the most common issue that beginners and even seasoned potters struggle with.
If you’re using dry and hard clay, it will be almost impossible to get it centered. Even if you get it centered, it will not be easy to shape. On the other hand, while excess water does make it easy to center the clay, it will also collapse too easily.
4. Body Positioning & Arm Placement while using a Pottery Wheel
Arm placement is an essential technique every potter needs to learn when throwing on the wheel. But it won’t prove to be useful without proper body positioning. Before you start throwing, follow the following steps:
- Position your legs such that they are as close to the splash pan as possible.
- Keep your back straight while anchoring your arms to your thighs or the side of your body.
- Learn to move with your entire upper body, not just your hands and arms.
- Lean in and over the wheel while keeping your back straight.
5. Opening the Clay too Quickly
Trying to save time by rushing while doing pottery is never a good idea. This is especially true when opening the clay. Beginners tend to push their fingers down into the center too quickly, which is a huge and irreversible mistake.
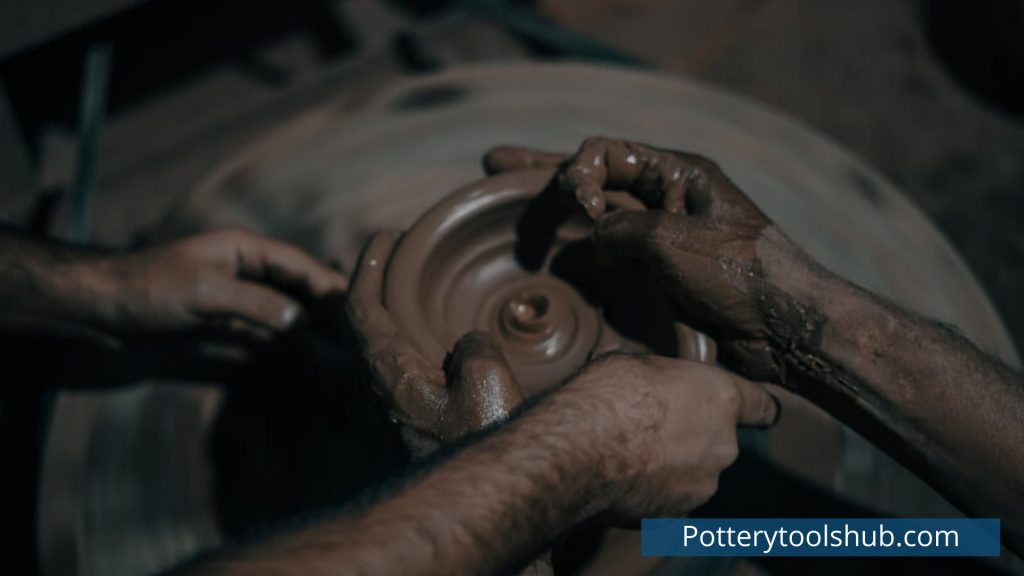
If you press the center too quickly, it creates a deep hole in your piece, weakening the bottom, forcing you to start from scratch.
Conclusion – Practice makes your Pottery wheel skills Perfect!
Patience and practice are the keys to mastering the skill of pottery. After all, the art of pottery is not something you can learn overnight!
Nevertheless, the techniques that will help you perfect your craft will come as long as you push your creative boundaries and don’t give up.
And after you’re done with making pottery, you probably want to learn how to clean the wheel. Check out this article for the different ways: How to Clean A Pottery Wheel – A Short and Easy Guide.

